QuickBooks integration
Solution for data sync between QuickBooks and Bitrix24
-
Bewertung
-
Installationen5605
-
EntwicklerBitrix24 Integrations
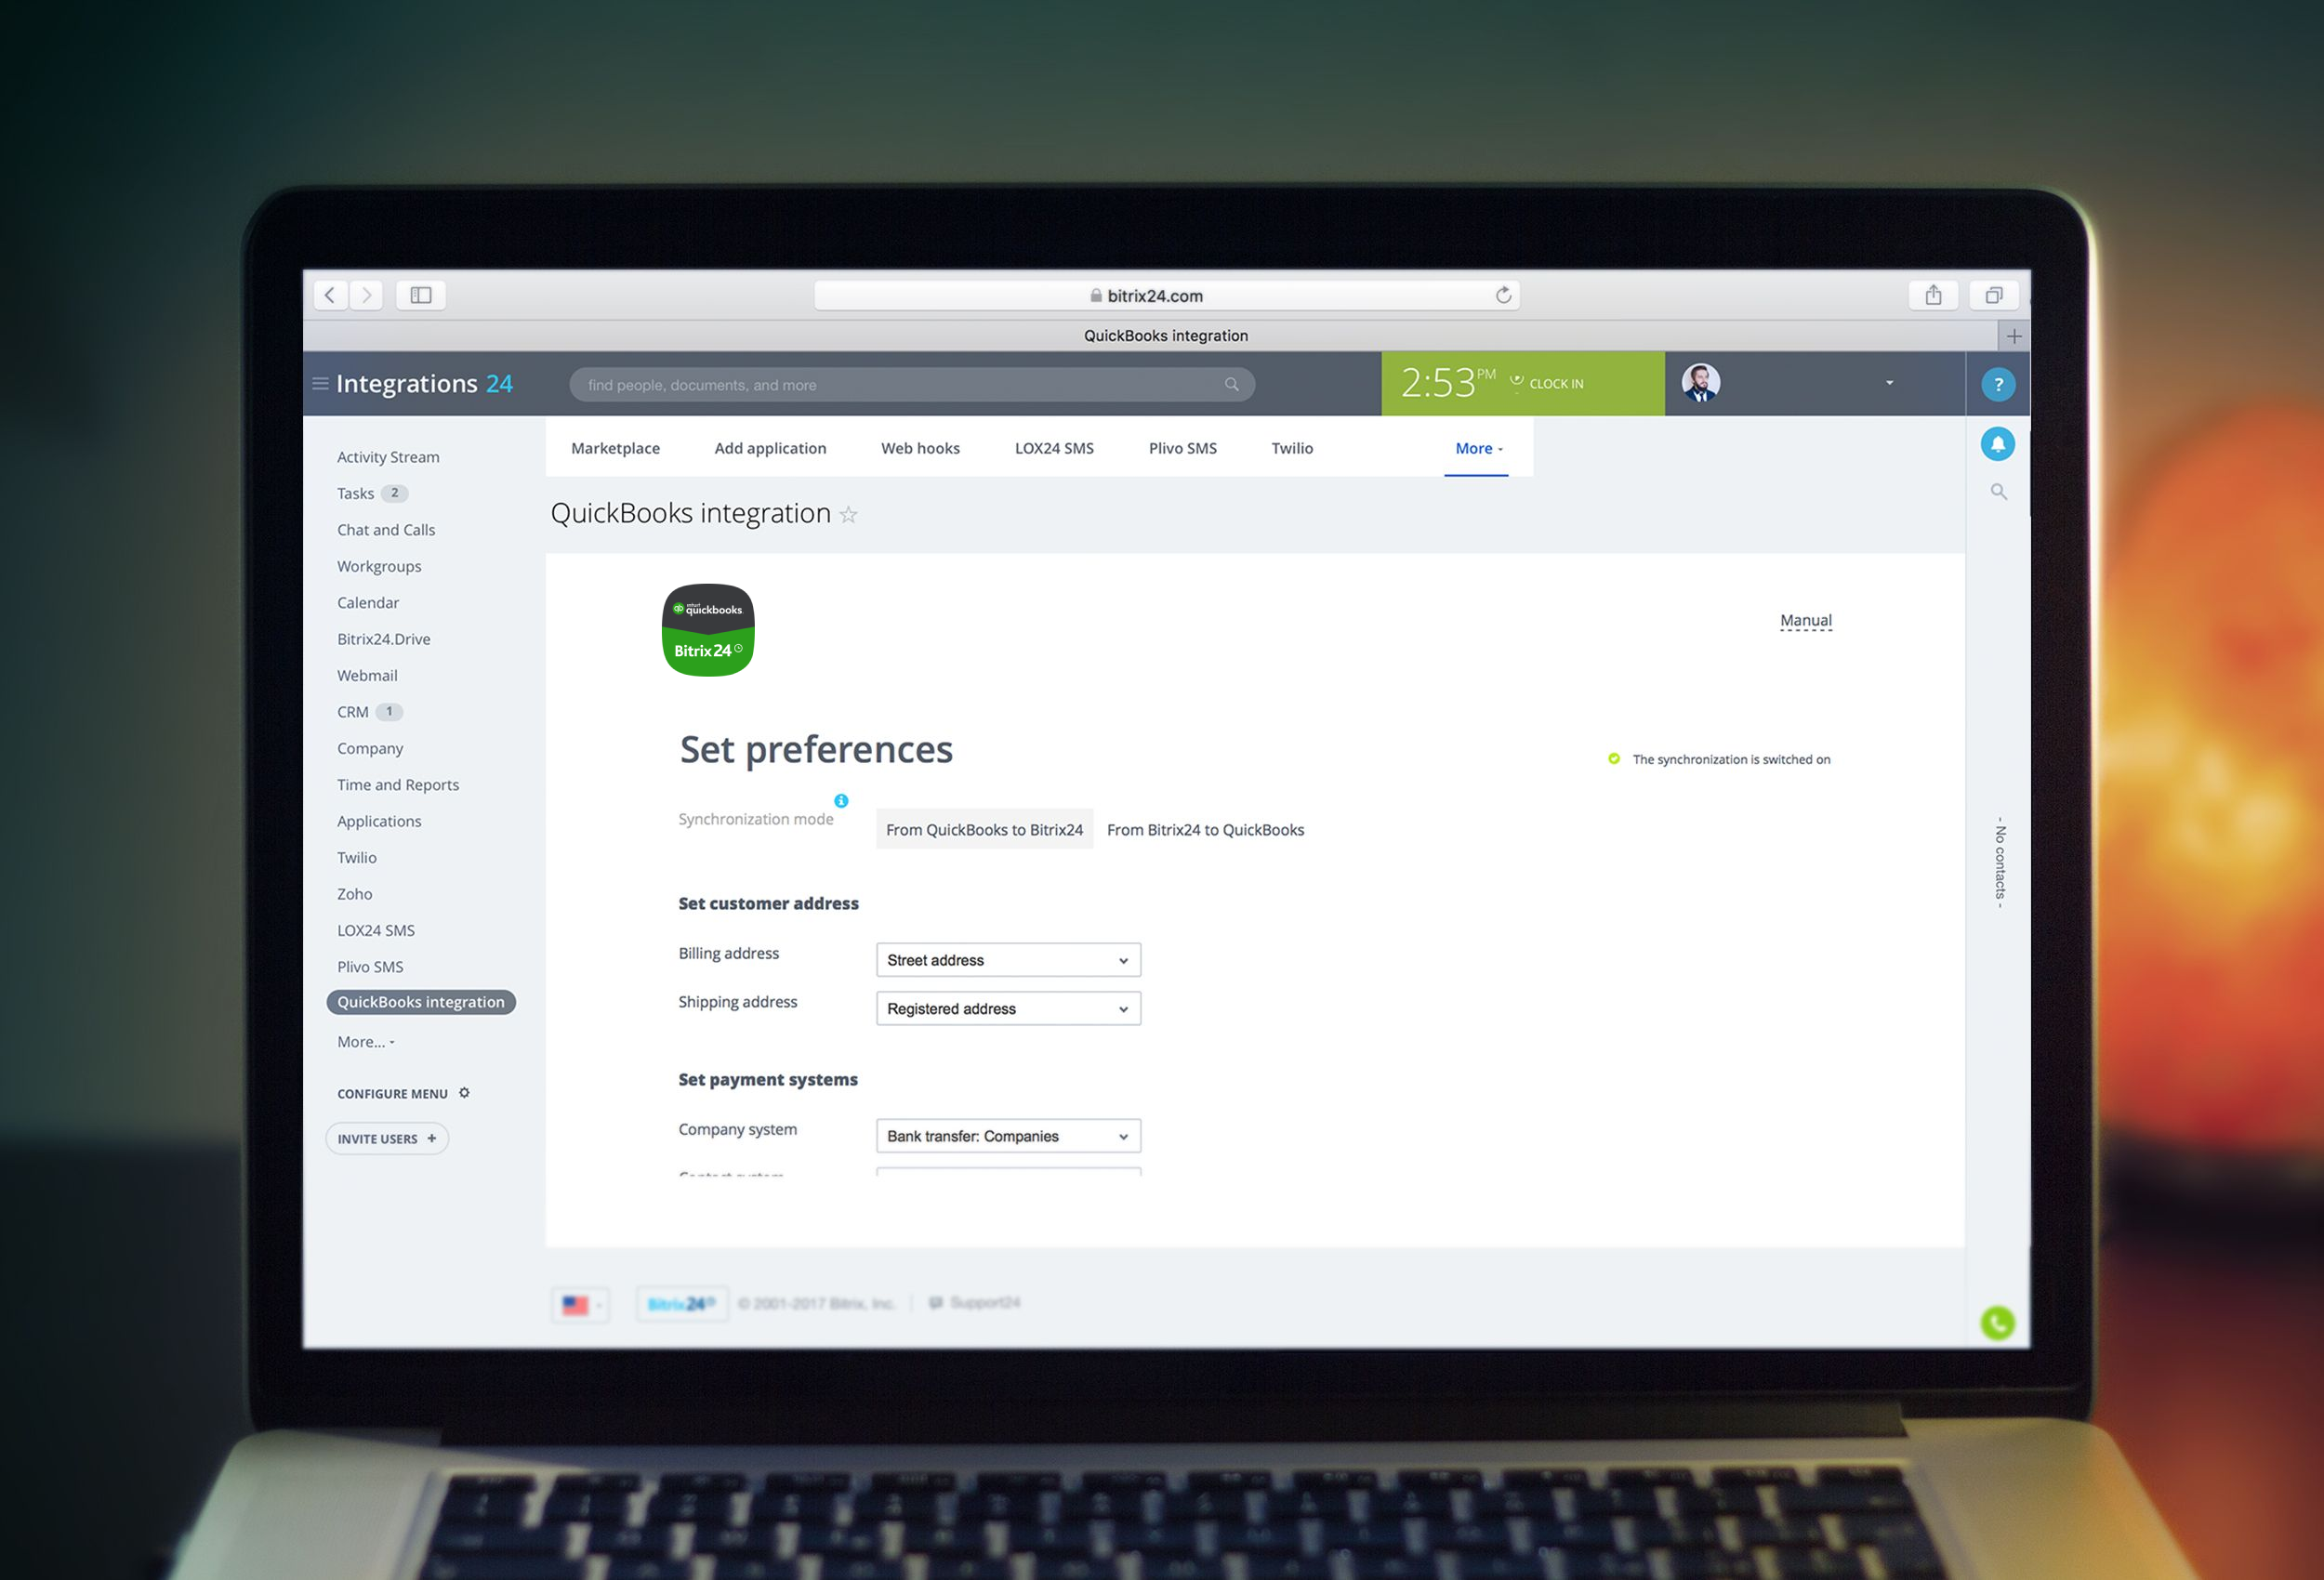
Now you can synchronize your data between QuickBooks Online (QBO) and Bitrix24.
If company and contact details or invoices are modified in QuickBooks, the app will automatically implement changes in Bitrix24. All changes in Bitrix24 company and contact details will be automatically synchronized with QuickBooks.
How it worksCreate a new invoice in QuickBooks from Bitrix24 company, contact or deal.
Sel ect a company, contact or deal fr om the list in Bitrix24 CRM, click on «Create invoice in QuickBooks» widget, select a product or service in the opened window and switch to creating a new invoice in QuickBooks interface.
After the invoice is saved in the additional field of Bitrix24 company, contact or deal, a link to the invoice will appear in QuickBooks.
If the status of QuickBooks invoice changes to «Paid», the app will automatically change the status of the corresponding invoice in Bitrix24 and will send the notification to the responsible manager.
More details in user guide.Learn more with our Helpdesk article
The app works with Bitrix24 commercial plans only.
Free plan users can test it during the trial period and then upgrade to a commercial subscription.


.png)